Introduction: Understanding Instagram Reels
People worldwide love Instagram Reels. They use it to show their creative skills and entertain viewers. You can show your dance skills or dish preparation steps and enjoy fun audio sounds through Reels. Reels offer a dynamic way to connect with people. But once you’ve found or created a Reel you love, how do you Share a Reel on Instagram with others?
Instagram Reels can connect you with your current audience and new followers. Creating meaningful social connections takes more than just publishing content. You must join discussions, spread good vibes, and celebrate others. The best part? You don’t need technical skills to post Reels on Instagram. The process is intuitive and lets you easily share your creative vision.
At the start, Reels feel challenging to share, but soon, new users discover how easy they are to use. You may have questions about where to begin, what steps to take, or how to add your personal touch to the content. After you learn the basics, you will find sharing Reels enjoyable and easy. You can easily share Reels on Instagram. Also, you can share others’ Reels, post your own, or send videos to friends.
Sharing your favorite content helps you connect with others and find new art. By sharing content, you express your identity. It also enables you to find new artists and trending topics. You can spread valuable content across the extensive network through simple touchscreen interactions.
Want to read and view more articles and guides just like this? Go Visit Our Blog Right Now!
What are Instagram Reels: Exploring the Feature
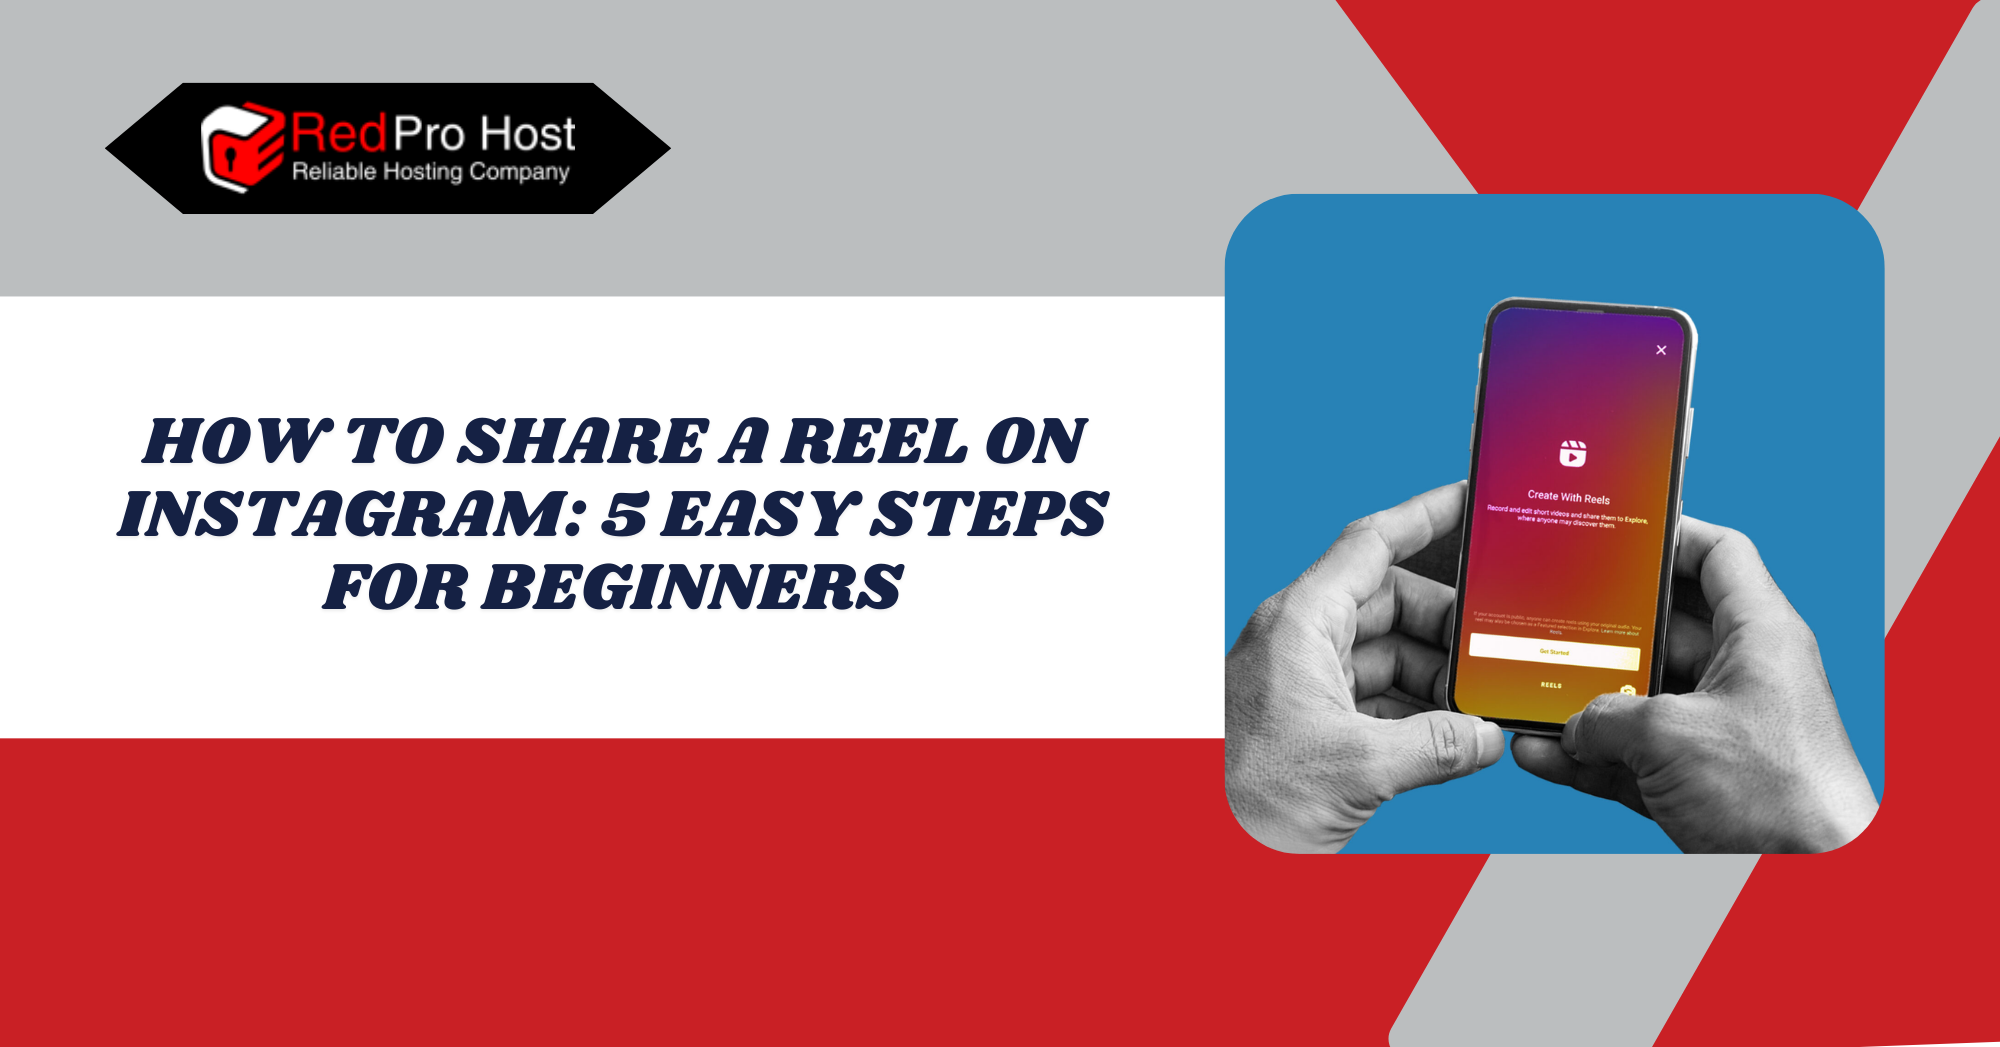
Instagram Reels lets users share their creative ideas and experiences. They are short, fun, and easy-to-make videos. They’re typically 15 to 90 seconds long with music background, sound effects, and text support.
Instagram users now love Reels. They let people share their thoughts, reach new audiences, and follow trends. Reels are designed to be visually engaging and easy to create. Instagram enables you to create content right in the app or upload existing video segments.
Reels offer better discoverability and let you extend your reach beyond your followers. Instagram stories disappear after 24 hours unless saved as Highlights, and your followers mainly view them.
Posts, on the other hand, live on your profile. They are often more static, like photos or graphics with captions. Reels have a permanent presence on your profile and Instagram’s algorithm. They help you grow your following with dynamic, short content.
Why Share Reels: Benefits and Impact
Sharing Reels isn’t just about a trend. It’s a top way to engage your audience. Reels are more likely to be featured on the Explore page. They can even reach people who don’t follow you. This opens up chances for more engagement, likes, comments, shares, and followers.
When you share Reels on Instagram, you create a great way to expand your audience reach. You grow your Instagram presence by sharing Reels. These videos get more visibility from the Instagram algorithm. The feature gives your content more views and interactions from a larger group of people. Everyone can benefit from Reels, whether you share creations or personal moments.
Preparing to Share a Reel: Essential Steps
Good prep makes a Reel that attracts viewers and gets a response. Control privacy settings and choose the right content. Then, you’ll be ready to share confidently and effectively.
Checking Privacy Settings: Ensuring Proper Configuration
Check your privacy settings first. They affect your Reel’s visibility. A private account lets you show your content only to approved followers, which is excellent for a close-knit circle. On the other hand, a public account will allow you to reach a broader audience, including people who haven’t followed you yet.
To adjust your privacy settings, go to your Instagram profile. Then, select the menu icon in the top corner. Navigate to Settings > Privacy. You can change your account from private to public. You can also set limits on who can access your content. This step ensures you’re comfortable with who gets to see and engage with the Reels you share.
Finding the Right Reel to Share: Selection Tips
Sharing the proper Reel means choosing content that resonates with your audience or reflects your personality. Pick a Reel based on what interests your audience and presents engaging content.
When sharing Reels from other creators, make sure they support your topic area and interests. For example, fitness fans will stay hooked if you share workout tips or motivational videos. Open the Explore tab. It shows popular Reels you may like. Or, search specific hashtags for trending content in your area of interest.
Understand what reels attract the most attention from the audience before you start. Stay updated on Instagram trends by watching what users share in terms of audio clips or theme-based challenges. You can make your content unique and engaging when you add your own ideas to popular trends.
Power Your Success with RedPro Host Dedicated Servers! Join Now!
Unleash the Power of Dedicated Servers! Sign Up with RedPro Host for Ultimate Control!
Step-by-Step Guide to Sharing a Reel
Following is the step-by-step guide on how to share Instagram reels with other people:
Step 1: Open the Instagram App
Start by opening the Instagram App on your phone. Make sure you’re logged into your account. It seems obvious, but it’s easy to overlook if you manage multiple accounts or log out.
Once you’re in, navigate to the Reels icon at the bottom of the screen. It’s the little play button in the middle of the navigation bar. This is your gateway to Reels, where you can browse endless creative videos or access your own.
If you can’t find the Reels icon, don’t worry—it might be in a slightly different place, depending on your app version. Just check for updates in your app store to make sure you’re using the latest version of Instagram.
Step 2: Select the Reel You Want to Share
Next, choose the Reel you’d like to share. This can be one of your own creations or someone else’s video that caught your eye. If it’s your Reel, go to your profile. Look for it in the Reels section. It’s the tab with the play icon above your grid.
If you’ve seen a reel in your feed or on the Explore page, you can simply tap on it to open it. You can also check your saved posts by going to your profile, tapping the menu, and selecting Saved. Saving Reels is a great way to track content to share later. It’s beneficial for trending content that resonates with your audience.
Take a moment to make sure the Reel fits the vibe you’re going for. If it’s someone else’s content, check if it fits your style and niche. Sharing relevant content increases the chances of your followers engaging with it.
Step 3: Tap the Share Icon
Once you’ve found the Reel you want to share, the next step is to locate the share icon. It’s the little paper airplane symbol sitting just below the video, next to the like and comment buttons. It’s a simple, familiar icon that acts as your gateway to sharing the content in different ways.
When you tap the share icon, a menu will pop up with several options. You can share the Reel to your Stories. This is a great way to showcase the video to your followers for 24 hours. Sharing to Stories lets you add personal touches, like stickers, text, and filters, which makes it stand out more.
Another option is to send the Reel via Direct Message. This is perfect if you have specific friends or family members who’d enjoy the video. Simply tap their names from your list of followers or use the search bar to find them quickly. You can even add a quick note to let them know why you’re sharing it.
Beyond Instagram, you can share Reel with other apps like Facebook or Messenger with just a few taps. Instagram often lets you cross-post content if your accounts are connected. You can also copy the link to the Reel and paste it wherever you want—maybe in a group chat, an email, or even a tweet.
Step 4: Add Personal Touches (Optional)
This step is where you can let your creativity shine. If you’re sharing the Reel to your Stories, Instagram offers a variety of tools to make it more engaging. Add stickers, emojis, or text to give the Reel a personal touch.
You can even use polls or question boxes to interact with your audience. Pinch and drag to adjust the size and placement of the Reel on the screen. Sometimes, a little tweaking makes all the difference.
If you’re sharing the Reel to your Feed, focus on writing a compelling caption. A good caption can tell a story, spark a conversation, or explain why you’re sharing the Reel. Don’t forget to include relevant hashtags to increase its visibility.
Tagging friends, collaborators, or the original creator (if it’s not your Reel) is a nice gesture. It can help boost engagement.
Step 5: Publish Your Shared Reel
Once everything looks good, it’s time to share the Reel. If you’re posting to your Feed, click the Post button, and Instagram will handle the rest. For Stories, tap Your Story to post it. If you’re sending it through Direct Message, select the recipients from your list and hit Send.
You’ll usually see a small message or checkmark confirming that your Reel was shared. If it’s on your Feed, you can head back to your profile to double-check how it looks. If it’s a Story, tap on your profile picture to view it as your followers will.
Best Practices for Sharing Reels
Here are some best practices for sharing Reels. They will help you make the most of this dynamic format.

1. Timing Your Shares: Optimal Posting Times
Your Reels will perform better when you post them at the right moment. The timing you choose to share content affects its views and interactions. Timing matters. Share your Reels when your viewers are online.
Check the online habits of your Instagram followers through your professional account insights. People mainly view content during the first hours of the day or in their free time before heading to sleep. The best time to post Reels varies by audience and their routines. When working with customers worldwide, you must try several approaches to find your best strategy.
People have free time each weekend to explore their feeds, and reels often succeed in this context. Entrusting posts to ideal time slots lets you reach most users who show more interest.
2. Engagement Strategies: Boosting Interaction
After posting your Reel, reach out to viewers and ask them to react to make the content more interactive. You can ask them to start discussions in the comments. You can add simple requests, like asking viewers to share their opinions or tag a friend who should watch the content.
When you add Reels to your Stories, let your followers respond by voting in polls or using emoji buttons. For example, if your Reel is about food, start discussions. Ask viewers to try new recipes or share their favorite bread toppings. Interactive features make content more engaging and addictive.
Another idea is to respond to comments or messages quickly after posting. A quick response to your followers shows you care. They’ll be more likely to reply.
Related Article: Web Hosting for Small Business
3. Utilizing Hashtags Effectively: Maximizing Reach
By using hashtags, you can attract the correct viewers to your Reel and help it reach more people. Seek hashtags that perfectly match your Reel’s content and ensure you use a range of choices. Avoid using only the most popular hashtags, as your Reel could get lost in the crowd. Instead, mix in niche hashtags that cater to specific interests.
When making a fitness Reel, you could use broad hashtags like #FitnessJourney alongside more specific ones like #HomeWorkoutTips or #YogaForBeginners. Use tools like Instagram’s search bar or hashtag generator apps to find trending, relevant hashtags for your content.
Stick to 10 to 15 hashtags on your post to maintain clean and easy readability. Put your hashtags at the bottom of your caption or in the first comment. This helps users find info easily on the screen.
4. Create Eye-Catching Thumbnails: Attracting Viewers
The first Reels display shows users a thumbnail during their scroll. It is also the first thing they see when you share them in a DM (direct message). You need a good-looking thumbnail to make people take notice of your Reel and play/stay to watch the reel. Instagram enables you to choose from video frames or add your own thumbnail. For niche or series content, use a consistent text or color style for your thumbnails. When viewers see it first, they will pay more attention and recognize your content easily.
Or, pick a thumbnail that shows the most engaging part of your Reel. Or it should explain the content. Example: If your Reel is a guide, select a frame of the finished result. When making a funny Reel, choose an image that shows its humor.
5. Add Captions for Accessibility: Enhancing Inclusivity
Adding captions to Reels helps viewers who watch without sound understand your message better. The platform’s captioning makes videos more accessible, and text overlays help viewers understand key sections.
By adding captions, you make content accessible to all viewers and keep them watching. A viewer in a quiet space will understand and enjoy your Reel, even while scrolling through their feed.
6. Respect Copyright Rules: Legal Considerations
Follow copyright rules before posting reels to prevent problems. Instagram’s rules require users to get permission before posting music videos and images they do not own. Users can also use authorized content.
The built-in audio tracks from Instagram will work best as background music; the platform approves these sounds. You’ll find this feature when searching for trending music. Upload music only if you have permission from its creator or bought the rights to use it.
When you reshare a Reel, mention the original creator in your post. Attributing work to others shows your appreciation. It builds loyalty among content creators.
When you create content, use only images, clips, and sound effects that are either yours or in the public domain. Complying with content rights keeps your account safe and shows you respect others’ online property.
Troubleshooting Common Issues
Fix the following common issues to troubleshoot and share Reels without interruptions.
What to Do If You Can’t Share a Reel: Solutions and Tips
When Reel sharing creates problems, they are typically straightforward to resolve. Many users encounter this problem because their account privacy settings block sharing. If the Reel belongs to someone else, their account might be set to private. When this happens, Instagram won’t let you share the Reel to your Stories or Feed. However, you can still send it as a Direct Message to people who follow the same account.
Make sure you allow content sharing. If your account is private, it limits how others can interact with and reshare your post. Moving to a public account could help, but first, ensure it matches your social media goals.
Another factor to consider is your account type. Business or professional accounts typically have limits when using specific music recordings. Under a licensing agreement, you can have limited access to popular audio options. A personal account may help, but we should weigh the pros and cons before switching.
Lastly, ensure that your app isn’t glitching. If Instagram has issues, try restarting or reinstalling the app using your device settings.
Handling Copyright Concerns: Navigating Legal Issues
Copyright violations may develop when you upload reels. If you share unauthorized content, Instagram may block your post. To stay safe, use music and videos from the Instagram audio library or royalty-free sources.
If Instagram finds copyright issues in your Reel, don’t panic. You can fix it with your support system. You should start by examining the alert message that Instagram sends to you. Instagram notifications usually point out which part of your Reel is the issue. You can switch to a licensed audio recording or modify your content based on official rules.
To avoid potential problems, always keep your app up to date. Instagram regularly releases updates to improve features and address bugs. Updating your app ensures you have access to the latest tools and a smoother experience.
Experience the Best in WordPress Hosting! Sign Up Today!
Simplify Your WordPress Hosting! Join RedPro Host for Optimized Performance!
Conclusion
Sharing Reels on Instagram is more than just posting a video; it’s a way to connect, engage, and inspire others. People use Reels to share their vision and entertain their audience.
Starting with Instagram Reels initially feels challenging to both newcomers and people reluctant to make content. But Reel sharing isn’t hard to master. Follow the guide steps, ensure your privacy settings, and bring your content to life using text or tags to share your personalized content confidently.
Your Reels need to connect deeply with your audience through authentic methods. Whatever you share on the platform, stick to what defines you as an individual. As the best reels show, people enjoy real-life experiences.
Instagram Reels are about delivering valuable content beyond simple feedback numbers. Through these videos, you can stay true to yourself while showcasing your interests and linking with a broader group of people.
The platform’s tools can help you create content. But your true magic lies in your authentic self. Put in enough time when creating Reels and stick to what you love. Now, it’s your turn. Open the app, find Reels, and start sharing.
Get Amazing Offers and Deals on All Types of Hosting, Including Shared Hosting, VPS, Dedicated Servers & More! Visit RedPro Host Now!
FAQs (Frequently Asked Questions)
Can I share someone else’s Reel to my profile or Stories?
Yes, you can share another user’s Reel to your Stories as long as their account is public and they allow sharing. Tap the share icon (paper airplane symbol) and choose “Add Reel to Your Story.” To share your profile, create a Reel inspired by their content. Give proper credit.
Why can’t I share a Reel I like?
There could be a few reasons. The Reel’s creator may have a private account or disabled sharing. Your app may need an update. Your account settings might restrict sharing. Make sure everything is up to date and check the Reel’s privacy settings to resolve the issue.
Can I edit or delete a Reel after posting?
Once a Reel is posted, you can’t edit the video itself, but you can edit the caption, tags, and hashtags. If needed, you can delete the Reel and re-upload it with changes. Just be aware that deleting a Reel will reset its views, likes, and comments.
What should I do if Instagram flags my Reel for copyright?
If Instagram flags your Reel, review the notification to understand the issue. Replace unauthorized audio with approved music from the Instagram library. Or edit to remove copyrighted material. If you believe it’s a mistake, you can file an appeal through the app.
Can I share Reels if my account is private?
Yes, but there are limitations. If your account is private, only your approved followers will see the Reels you share. Likewise, you can only share others’ Reels with your followers. The original creator must have a public account.
Why does the audio disappear when I share a Reel?
This often happens due to copyright restrictions. It may also be because the original creator used licensed audio that is not available in your region. Before sharing, try selecting another audio from Instagram’s music library to replace it.
Can I see who shared my Reel?
Instagram doesn’t show who shared your Reel. But you can see how many people shared it in their Stories in your Reel insights. This feature is available for professional accounts.
How do I fix blurry Reels after posting?
Blurry Reels might come from low video quality or slow uploads. To prevent this, enable “High-Quality Uploads” in your Instagram settings under “Data Usage.”
Is it possible to share a reel with your Story?
Absolutely, you can share a Reel to your Instagram Story without any hassle. Tap the paper airplane icon below the Reel. Choose “Add Reel to Your Story.” You can personalize it with stickers, text, or effects before posting. However, keep in mind that if the original creator has turned off sharing, you won’t be able to add it to your Story.
Why Should You Be Sharing Reels as Stories?
Sharing Reels to your Stories is a smart way to get more eyes on your content. Stories show up at the very top of your followers’ feeds, so they’re hard to miss. They vanish after 24 hours.
They’re perfect for sharing trending or temporary updates. They avoid cluttering your main feed. Also, add polls, questions, or links to make it more interactive. They’ll grab your audience’s attention.
Latest Posts: